This month at the guild we began the afterthought heel technique.
I first encountered this method in Elizabeth Zimmerman's 1980 book "Knitting Without Tears". Personally I don't mind cutting my knitting, however, in my experience, many people have reservations about the practice, so I used the variation where the chosen stitches for an opening are temporarily knitted with waste yarn.
This technique is also used in folk socks, where the main pattern is quite ornate. I imagine a skilled and practiced knitter works the main pattern and the heels and toes worked by a student or apprentice knitter. My friend Samu tells me that in Zimbabwe, a garment is often made by a group. Someone knits the back, another the front, another a sleeve etc. so the garment (i.e.) is produced efficiently.
There are lots and lots of people on the internet with wonderful instructions for afterthought heels, like
here and
here. In this post my aim is to show my lesson prep plus thoughts on the process.
First I made 12 samples, each 48 stitches wide, and 36 rows long, on my regular gauge machine using a sport weight acrylic, tension dial 10, hand fed.
At row counter 12, I hand knit 18 stitches with a piece of contrast waste yarn. This is so the knitters can practice picking up live stitches without fear of cutting the knitting. At row counter 24, I marked the centre stitch, so if the knitter is inclined to cut it is easy find the exact centre point for the snip.
Stocking stitch likes to curl, so I paired the swatches right sides together, basting them around the edges. My favourite low tech blocking approach.
Because the yarn is acrylic, I used my handy vintage tea towel, dipped in water and wrung out, laid on top of the swatches and steamed by lightly touching the wet cloth method. The swatches are small and fit on the ironing board, no problem.
Now the swatches are flat and ready for the sampling work
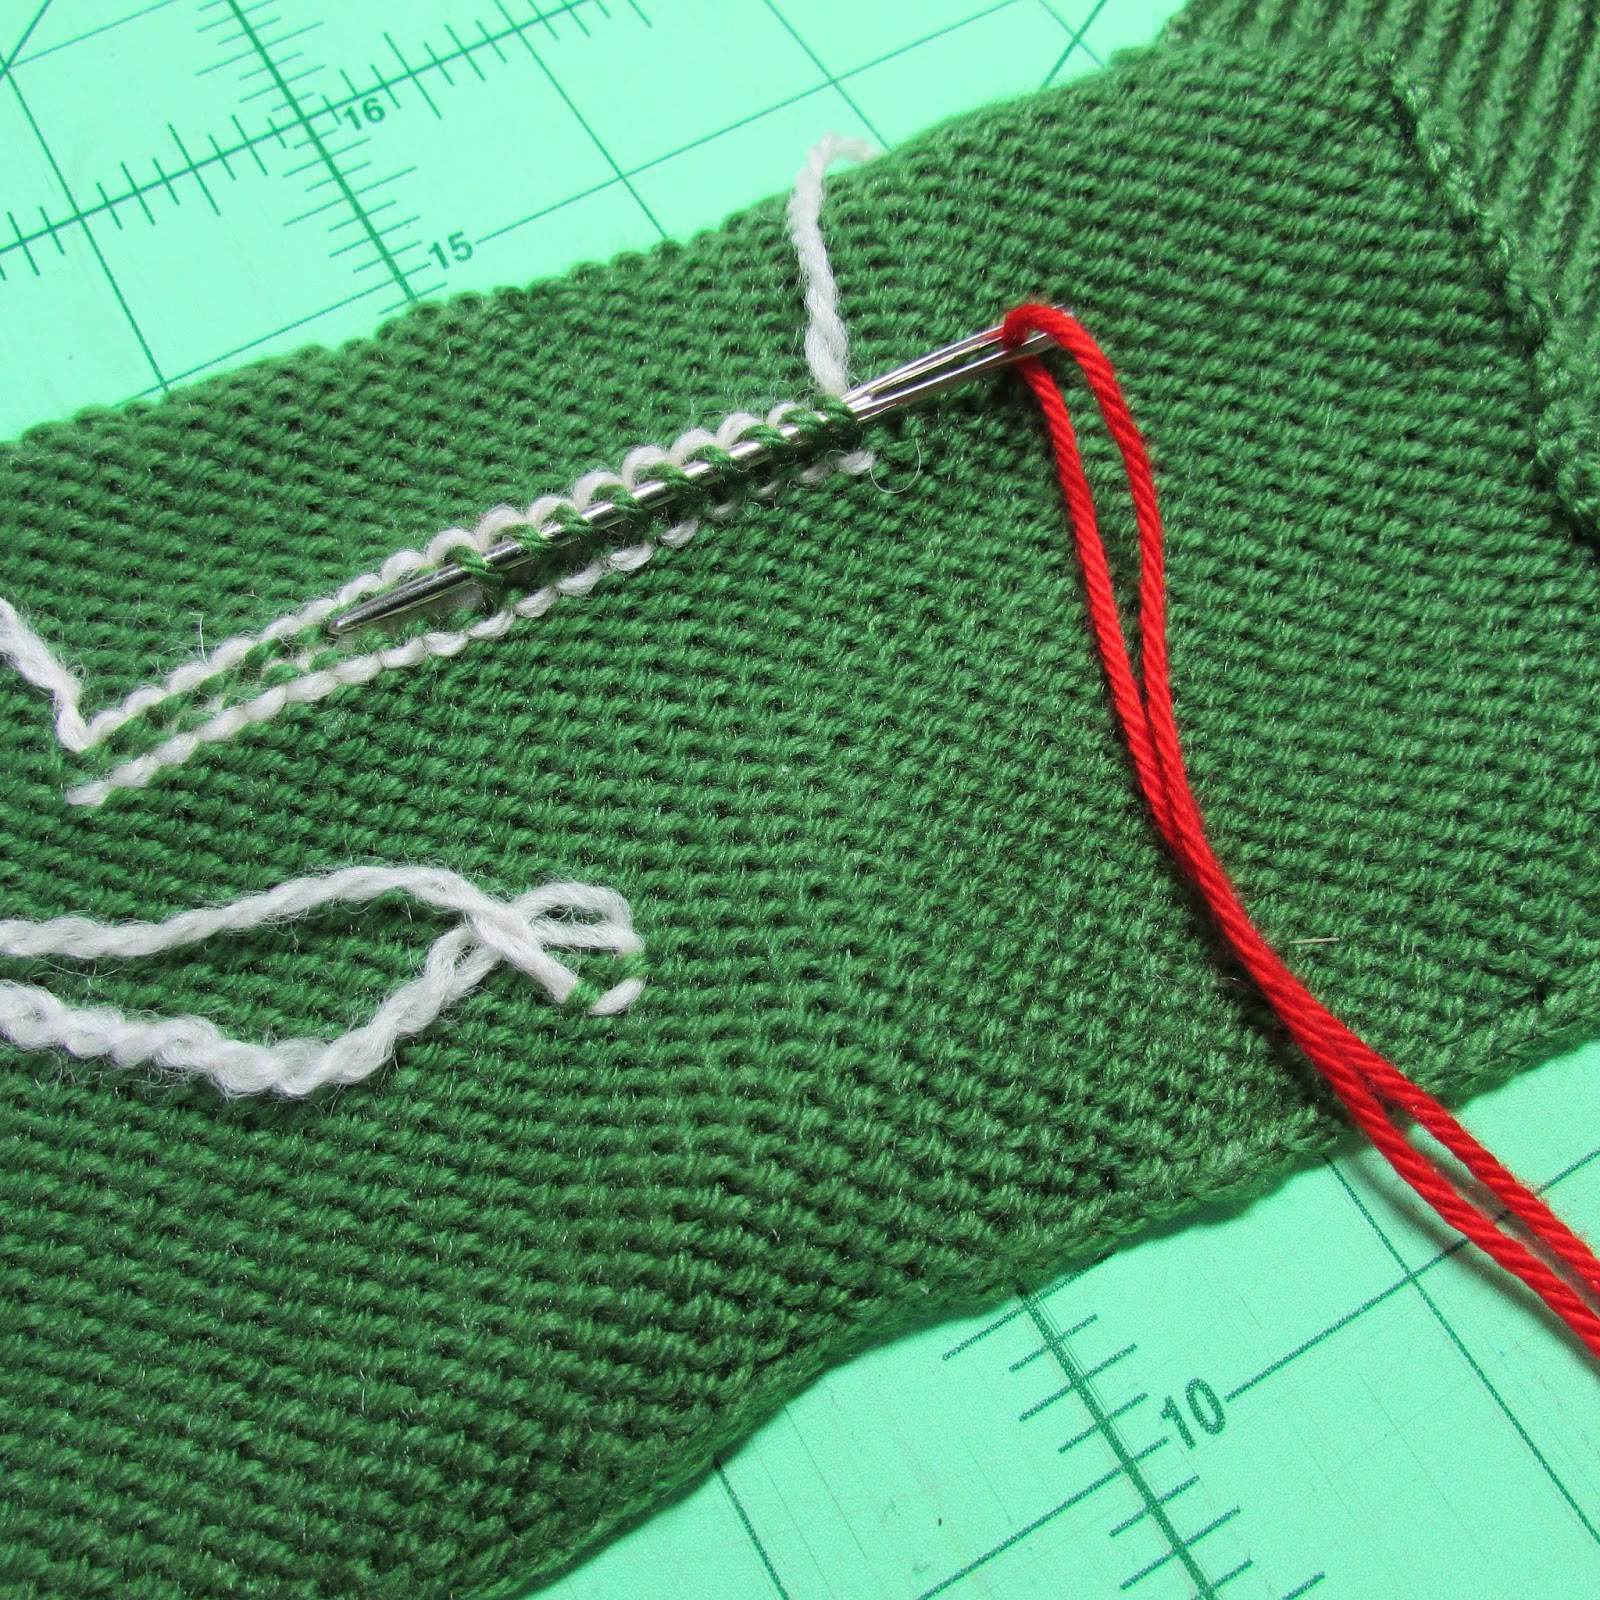
A blunt tapestry needle with a well spun piece of contrast cotton yarn makes splitting and snagging less likely.
Poke through the stitches on both sides of the waste yarn I like the purl side of the fabric, as I find the individual stitches easier to see.
Then pull out the waste yarn. Heel opening created!
Flip the piece over to the knit side and put the stitches on my sock needles.
The red yarn stays until I am sure I have picked up every stitch.
Then divide the stitches into quarters, ready for shaping, just as a regular toe shaping process.
Knit the "Toe" heel. Everyone has their favourite way of toe shaping, my practice is:
- knit 2 together at the end of needle 1
- knit 1 slip 1 pass the slipped stitch over, at the beginning of needle 2
- knit 2 together at the end of needle 3
- knit 1, slip 1, pass the slip stitch over at the beginning of needle 4.
I like to put a brightly coloured marker at the beginning of the round, because the number of stitches is so small and life can be so interesting that I don't notice when I pass the starting point.
When the shaping is complete and I work a final last plain round I stop at the end of needle 3, leave about 8 inches of main yarn and knit a few rounds of stocking stitch in a contrast colour.
I much prefer to work grafting from stocking stitch than off the needles, especially with such few stitches. Here is a
blog post about this method.
In this photo, the yarn between the 2 middle stitches was snipped, the stitches unravelled and picked up with sock needles ready to divide for shaping, the authentic afterthought heel method.
Here are photos from one of my beloved Japanese books showing grafting from waste yarn.
It is important to use a nice blunt tapestry needle
And a clear contrasting well spun yarn for the waste knitting. I like mercerized cotton close to the weight or slightly thicker than the main yarn.
I also use the waste yarn technique for my honeycomb mittens thumb opening as well as the armhole opening on a sideways waterfall vest or cardigan. Very handy indeed